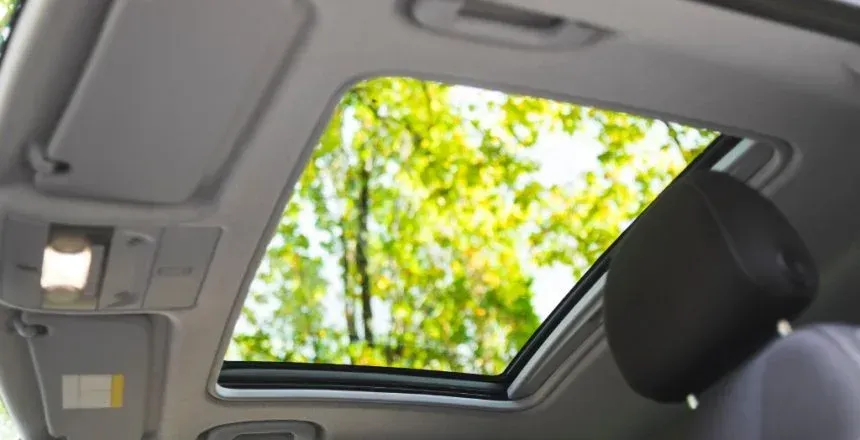
When you notice a leak, crack, or malfunction in your sunroof, scheduling a sunroof repair is the smart move. But many car owners hesitate, wondering if fixing the sunroof might harm the interior or damage the headliner. Here’s what you need to know before heading to a professional shop like Auto Glass & Tint of […]
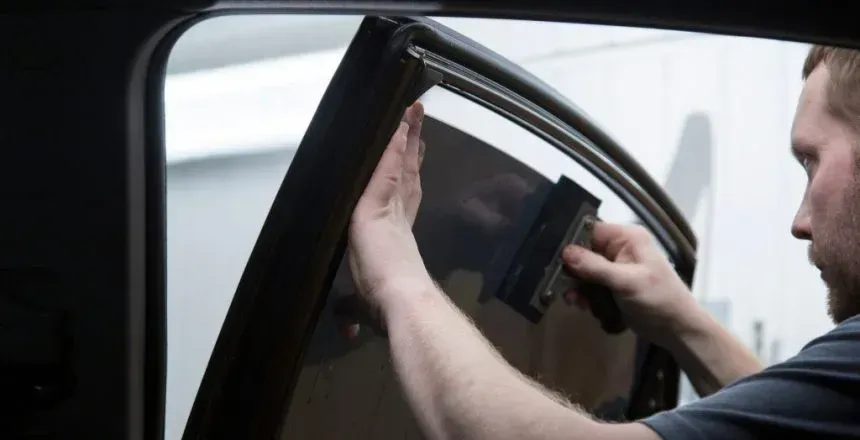
Thinking about getting your car windows tinted but not sure how long it’ll take? Maybe you’re wondering if you need to take the whole day off work or just set aside your lunch break. Tinting isn’t something you want rushed, but it also shouldn’t leave you without your car for too long. In this blog, […]
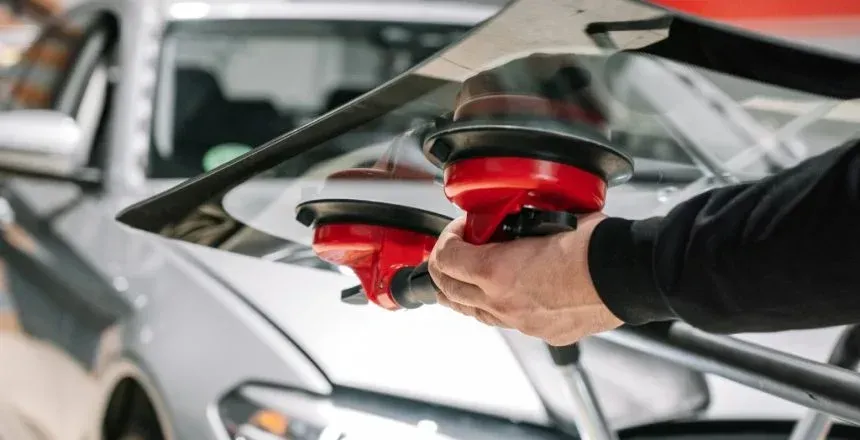
Driving with a damaged windshield isn’t just inconvenient, it’s dangerous! Cracks can obstruct your view. Chips can compromise the structural integrity of the glass. In many cases, what starts as a minor issue can quickly turn into a costly problem. If you’re wondering what actually goes into windshield replacement and what it might cost you, […]
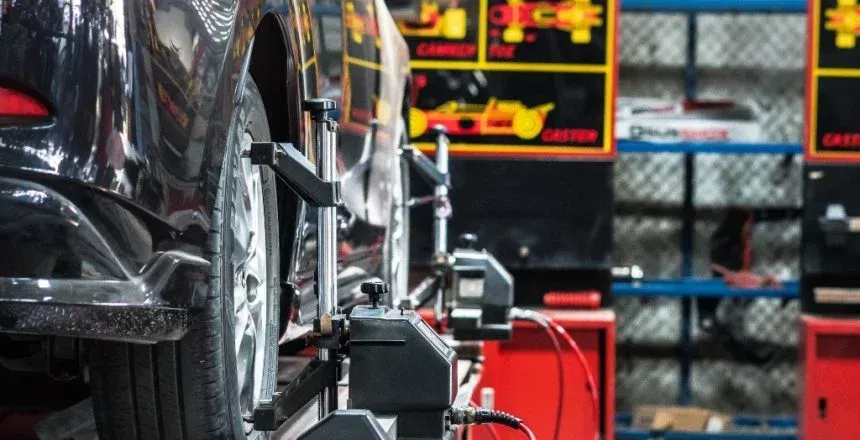
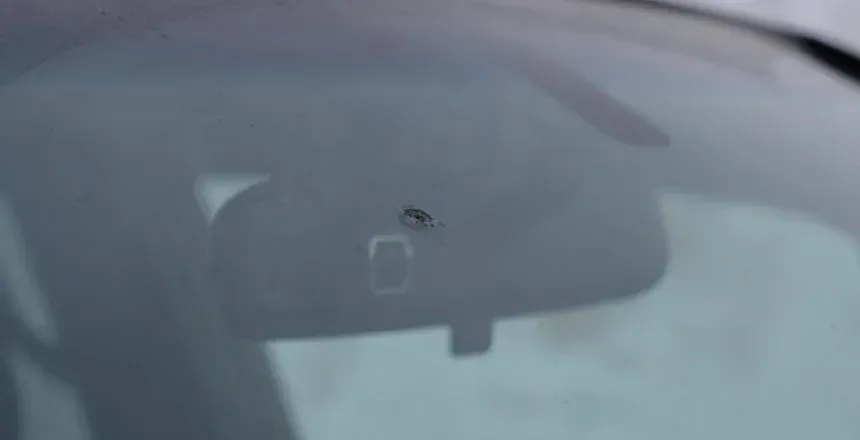
Newer vehicles rely on more than just mirrors and human judgment. They use advanced driver-assistance systems (ADAS) to help you stay in your lane, avoid obstacles, and stay safer on the road. But what keeps these systems accurate? Sensor calibration. If your sensors are misaligned, your vehicle might see danger where there is none, or […]
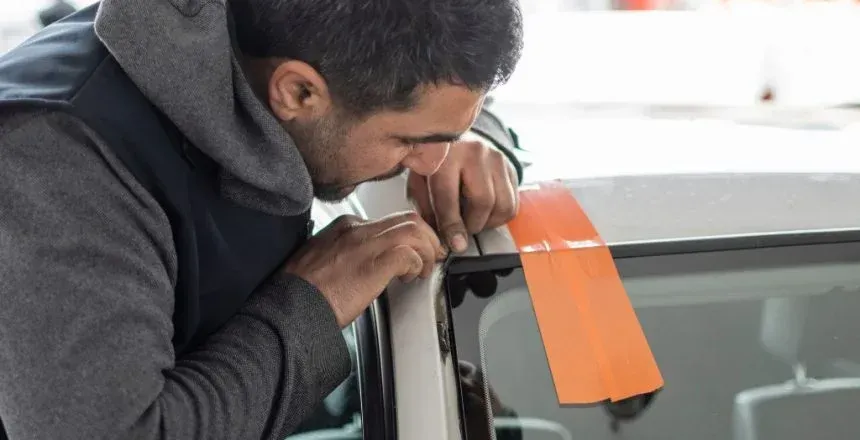
Cracks and chips can show up out of nowhere. Maybe a rock flew up on the highway, or a sudden temperature shift did some damage overnight. Either way, you notice the crack and start thinking, “Can I just fix this myself?” It’s a common thought—and with so many DIY windshield replacement kits out there, it’s […]
Ever thought about tinting your car windows but weren’t sure if it’s worth it? You’re not alone. Many car owners see window tint as just a style upgrade, but it does a lot more than just make your ride look sleek. It keeps your car cooler, blocks harmful UV rays, and even adds an extra […]
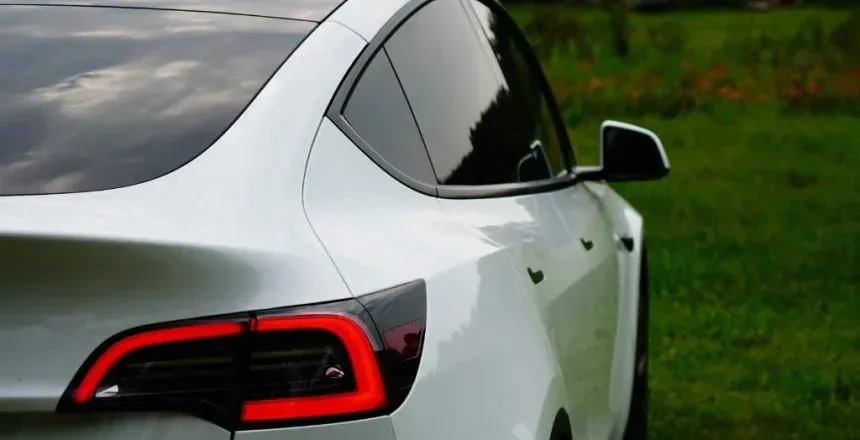
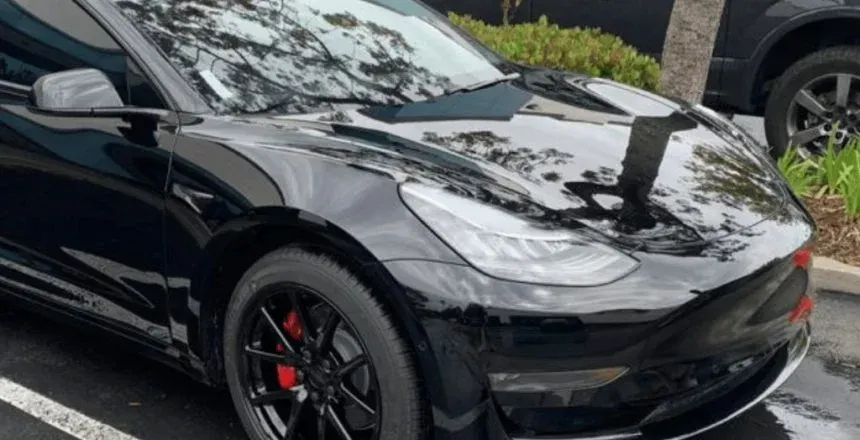
Thinking about getting your Tesla windows tinted? It’s a smart upgrade that keeps your car cooler, reduces glare, and protects your interior from harmful UV rays. Plus, it adds a sleek, polished look while improving privacy. But before you book an appointment, there are a few things you need to know—like which tint works best, […]
Let’s be honest—most of us have probably noticed a tiny chip on our windshield and thought, “It’s so small; it’s no big deal, right?” But that little blemish can quickly snowball into a bigger, more expensive problem. Tiny windshield chip repair isn’t just about aesthetics; it’s about keeping your vehicle safe and saving yourself money […]
Car window tinting is a smart upgrade that enhances comfort, protects your interior, and reduces glare. With so many types of tint and window tinting options available, it can be hard to know which one is right for you. In this guide, we’ll shed light on what car window tint is, the different types of […]
Do you any questions? Call us at (760) 433-4444 or request a free quote today.


